Sunday, August 1, 2021

Building a dual temperature sensor on a RaspberryPi for a custom telescope cooling system


For that that don't follow me on social media or know what a true inner nerd you are dealing with. 


The key to using the cooling system is knowing what the mirror and air temps are. 

One you know what the temperature difference is you have to know when to cycle the cooling on and off

and that is a bit of black magic.  After the indoor/outdoor thermometer I previously used died I decided to build

a dual digital  temp sensor monitor on a rasberryPi to compare the mirror and air temps.


Sensors

I purchased 2x AM2320's as they were relatively inexpensive, with good accuracy and built in resistors!

I followed this schematic to get them tested

DSI (DISPLAY) 
ETHERNET 
USB 
c 
10 
10 
15 
15 
20 
20 
USB 
fritzing


I somewhat assumed that you could have them in a series and assign them roles or addresses.  I was wrong!


Finding the best method to READ values from the sensor wasn't too hard in python but using the right timing got

tricky.  I ended up using this runtime compile library - https://github.com/rhubarbdog/am2320 

 This allowed me to use python's popen and appeared most stable for me.


Challenges

I bought 2x AM2320 and THEN discovered that you cannot use them together without some additional efforts.

Not a big deal but the Internet is full of pitfalls.  Here's the solution I came up with from some help of a fellow

redditor - /u/I_Generally_Lurk -

https://www.reddit.com/r/raspberry_pi/comments/mbw08x/multiple_am2320_temp_sensors_on_a_pi4/


His suggestion of using a multiplexer got me on the right path to this solution:


I2C multiplexer

I found this tidbit that detailed how to use a different GPIO bus, created in software to allow each sensor to

operate independently - https://www.instructables.com/Raspberry-PI-Multiple-I2c-Devices/


The beauty of this solution is that the sensor read code from rhubarbdog had the bus specified in the source.

A quick edit and I had two copies of his pre-compiled code, one on bus1 and a second on bus4.  I ran into a

 performance issue that was again fixed in software!  PHEW!  After a good deal of fiddling, I found a slowness 

issue on the 2nd bus which was resolved using the following.


FIX for slow

https://github.com/raspberrypi/linux/issues/1467


Another link that could help -

https://github.com/raspberrypi/firmware/issues/1401


Wiring


Now that I am able to address each sensor individually using the following setup


Sensor ONE on BUS1

Sensor TWO on BUS4


This script:


def temp():

        global mirrorT

        global airT

        global mirrorH

        global airH

        global D

        try:

                sp = subprocess.Popen('/home/pi/am2320/run.sh',

                        shell=True,

                        stdout=subprocess.PIPE,

                        stderr=subprocess.PIPE,

                        universal_newlines=True)

                air,err=sp.communicate()

                # Store the return code in rc variable

                rc=sp.wait()

# string sort of output for desired values

                airT=float(air[:-26][12:])

                airH=float(air[:-5][33:])

        except:

                # pre-store values to prevent scrtipt from stopping if sensors have errorsairT=1.1

                airH=1.1

                pass

        try:

                sp = subprocess.Popen('/home/pi/am2320.Bus4/run.sh',

                        shell=True,

                        stdout=subprocess.PIPE,

                        stderr=subprocess.PIPE,

                        universal_newlines=True)

                mirror,err=sp.communicate()

                # Store the return code in rc variable

                rc=sp.wait()

                # string sort of output for desired values

mirrorT=float(mirror[:-26][12:])

                mirrorH=float(mirror[:-5][33:])

        except:

                # pre-store values to prevent scrtipt from stopping if sensors have errors

mirrorT=1.1

                mirrorH=1.1

                pass

        D=mirrorT-airT

        return mirrorT,airT,mirrorH,airH,D


 allows me to read both at the same time and display's this output!


Air Temperature:  66.38

Air Humidity:  50.5


Mirror Temperature:  66.2

Mirror Humidity:  50.6


At this point I was able to do fun things like put a mug of ice water near one of the sensors to determine that

they were both reading independently.  Then I needed to wire up one of them longer than the other in order to

stretch to the mirror.  I used an old, spare, CAT5 Ethernet cable and simply inserted a stripped end into the female

end of a jumper breadbox cable!


Here's the final design as it is attached to the scope.  Note one sensor is reading the air and hanging loose, the

other routes up the cat5 cable to the mirror.


The green cable routes up the mount to the mirror where the sensor is on the other end, taped in place.  As

you can see in the close up below, I didn't solder the cables to the jumpers, only secure with tape which has held

good enough for now!


The values are only read via script for the time being but watch for the next installment where we will learn how

I wrote them to an Influx database for use within Grafana and Home Assistant!

Sunday, June 27, 2021

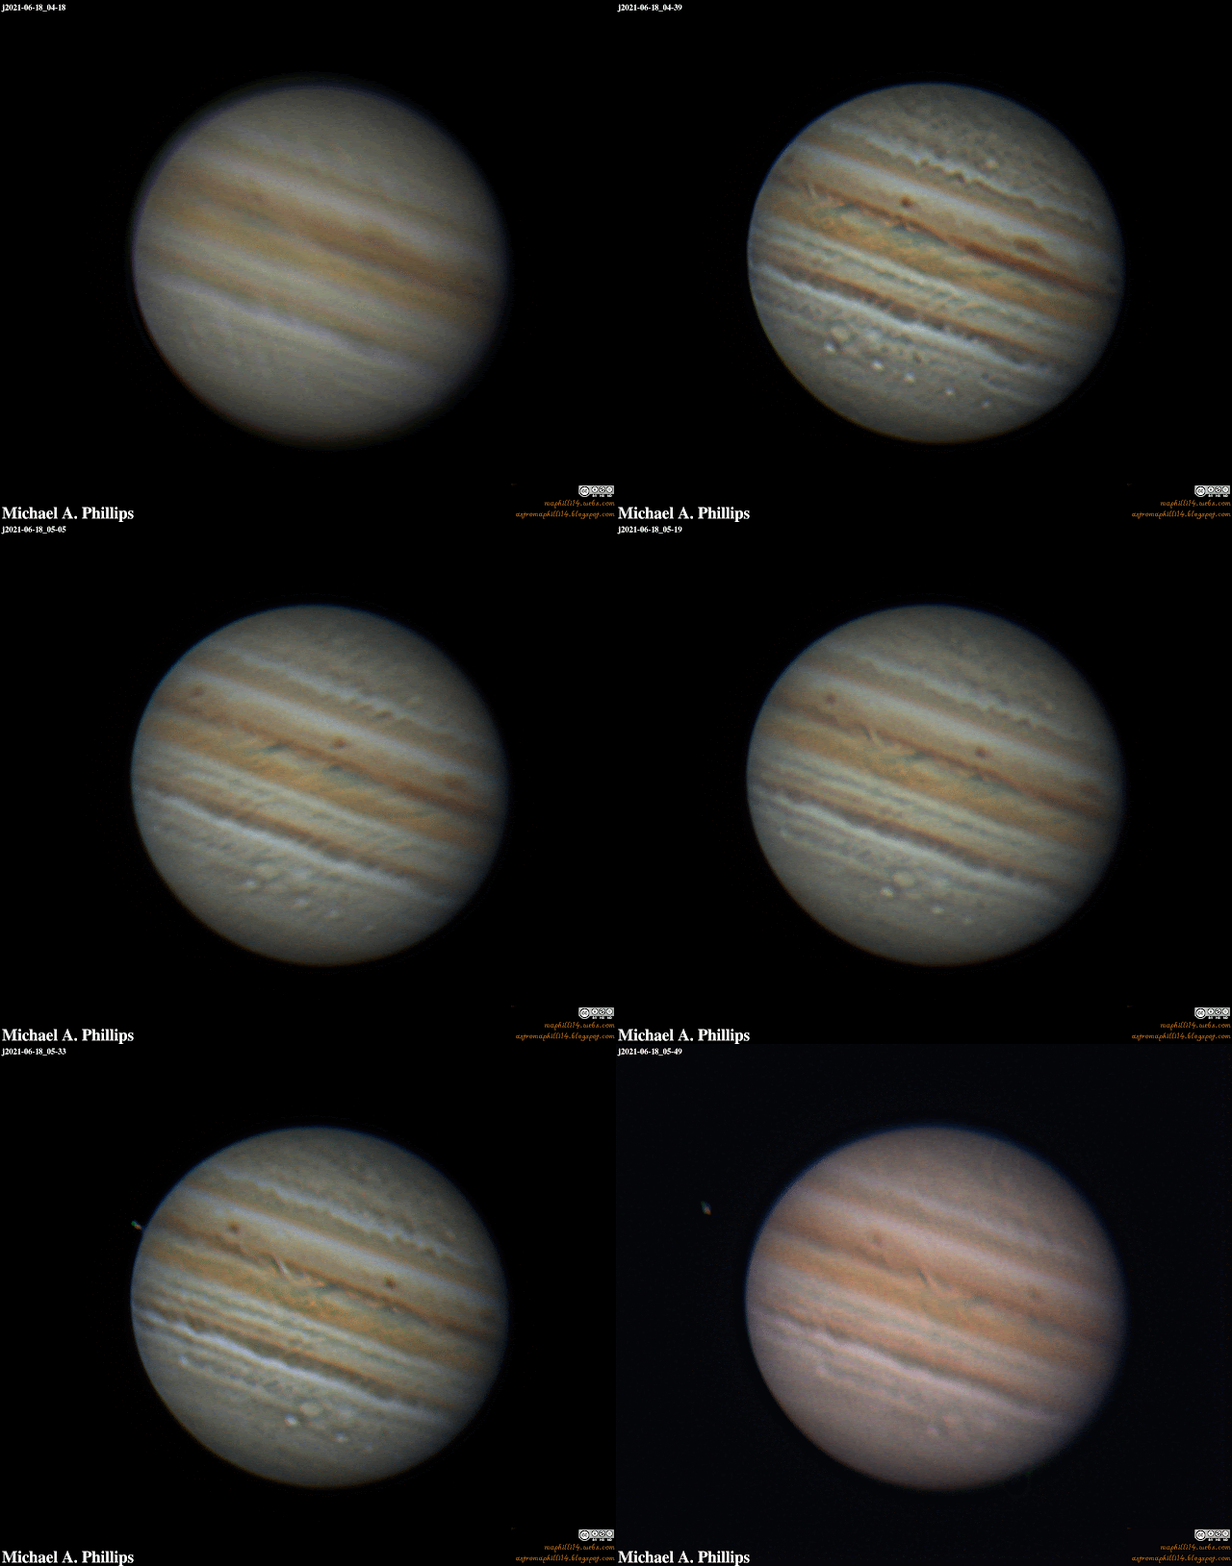
Jupiter and Saturn in moderate seeing

 My 3rd trip for this season and I have the right sleep patterns and routine for some early am efforts!  Saturn is at really wonky hour of the day and I get only <45min of it clearing the trees.  I'll have to wait to get more shots until it swings in the pre-midnight portion of the 2021 showing.

What's got me most excited is the automated animations that I'm popping out using batch processing in AS!3 and AstraImage with no tooling required.  The secret sauce is a custom python script that runs on Win10 in WSL (Windows Subsystem for Linux)  It takes all my captures, 10 or 30 or more, RGB combines them, plays with the levels if needed, stamps them with water mark and info and then spits out an animation!  I'll share more details at some point in future entries but do have them on my Github - https://github.com/maphilli14/Planetary-Win10 specifically the RBG-Imagemagik.py script!


Here's the Saturn and Jupiter animations!


At the point of the script ending I have a nice batch of short RGB's to pull the best out of an process fully.

Saturn


And with Jupiter slightly higher and closer to dawn this came out a bit better IMHO!


Sunday, June 20, 2021

Fooling around with automation for animations!

 I had a bout of good enough seeing the other morning and have been working to refine my animation making abilities with python and WSL scripting!   This is a good result!


Monday, June 7, 2021

Why do you need to cool your mirror for high resolution imaging?

 This post, part 2 of my mirror cooling series will give evidence that a closed tube is not efficient at keeping the mirror at ambient temperature of the air.  For a 24 hour period my scope sat with the dust cap screwed on and a tarp covering the whole OTA assembly.  During this time you can see how much the mirror temp slowly follows the air temp.


In the above example you can see the symmetry of each temperature, following a cooling and warming curve with temperature on the Vertical/Y-axis and time on the Horizontal/X-axis.  Looking at the blue (air) you will see it cool from the left at midnight until about 11am where it starts to warm again in my garage, where it is parked.  If you focus on the yellow (mirror) temp curve you will see the same shape, just slightly phase shifted away.  This means that the mirror is also cooling but is delayed, likely as it's a larger heat sink than the air.  After 11am the air heats more rapidly than mirror, which again is slower to keep up with the changes in temperature.


Let's zoom into the times between 0245 and 0545, a THREE hour time span where if you focus your attention to the vertical and horizontal guides, the big dashed PLUS in the middle of the graph.  Following the horizontal line you'll see it intersect with the TOP part of the blue curve on the LEFT and the BOTTOM part of the yellow curve on the right.  This horizontal line represents the temp ~75.7F and is the time delta between the air and mirror at the same temperature.  Not using active cooling and only letting the scope and mirror follow thermodynamics you can see that the mirror, capped and closed inside the OTA took about 3 hours to catch up to the air. 


I wanted a temp comparison, so I created a graph showing the mirror and air delta for a visualization in real-time and record of what the differences in the below graph.  The idea is that I can use a large temp difference to activate the cooling unit I described in part 1 - Akule's updated cooling fans  The cooling unit was NOT used in any of these tests but the idea is that with a significant enough temp delta I can trigger the cooling unit to run when not in use


 I hope you enjoyed seeing real evidence of why you need active cooling!  See you in the next part!


Mike

Blog Archive